Upload any image, photo or picture
Drop in a PNG, JPG, or WebP, then drag and zoom it over the body guide.
Free browser tool
Turn any image into a Minecraft skin: upload a photo of yourself, your art, or any picture, and we convert it to a playable 64x64 or 128x128 skin. Free, no sign-up, processed right in your browser.
PNG, JPG, JPEG, or WEBP · Max 10 MB
Three simple steps
The converter places a front-facing Minecraft body guide over your image. What sits inside the guide becomes the character's front, while nearby colors and details are sampled to complete the sides and back. If the image does not contain a face, follow our guide to add eyes and a face to a Minecraft skin before downloading.
New to the flat texture layout? The Minecraft skin template guide explains where the head, body, arms, legs, and outer layers sit on a 64×64 skin.
Drop in a PNG, JPG, or WebP, then drag and zoom it over the body guide.
Choose a 64×64 Standard or 128×128 HD skin and match the Classic or Slim arm model.
Preview the 3D skin, apply a face preset or edit pixels if needed, then save the PNG.
Want help choosing an image and fixing the result? Follow the complete image-to-Minecraft-skin tutorial.
Mapped by the real tool
These are not hand-designed skins. Each example below was created with the same positioning and UV mapping code as the converter above.
Source
Skin
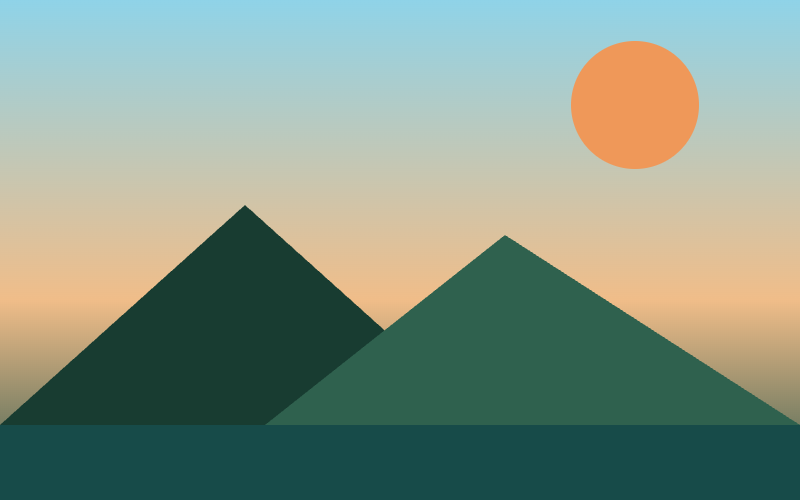
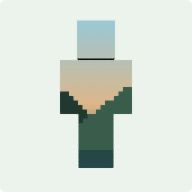
Landscape
The sky lands on the head, the horizon crosses the torso, and the darker foreground continues across the limbs.
Actual 64×64 Classic output from the production mapper.
Source
Skin
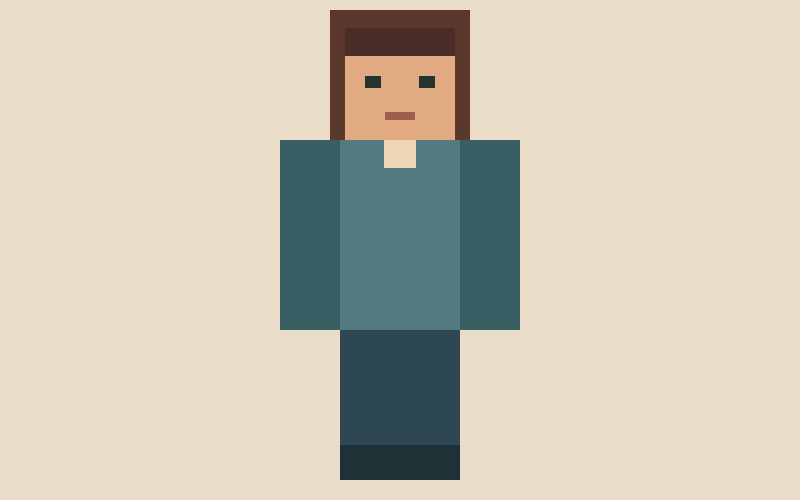
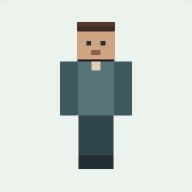
Character art
The face is positioned inside the head area while the shirt and trousers are sampled into the body, arms, and legs.
Actual 64×64 Classic output from the production mapper.
Source
Skin
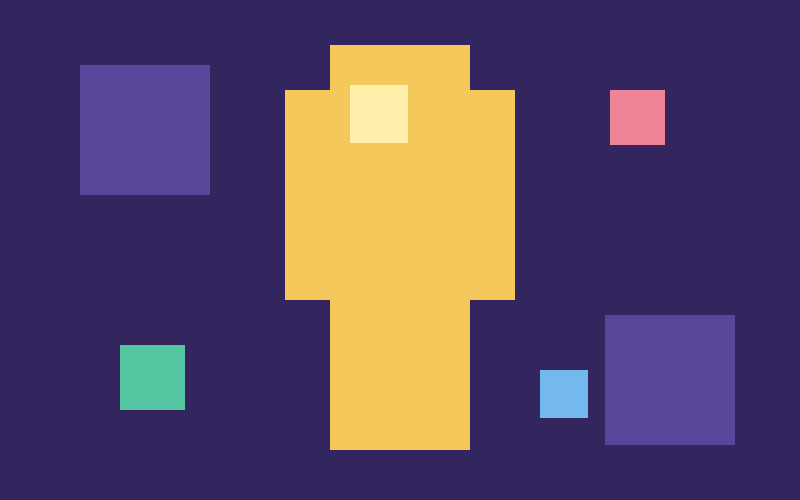
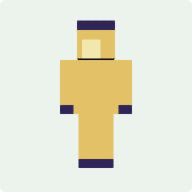
Pixel-art source
The artwork stays on the front while the surrounding image is sampled outward from the full body area and continued onto the back.
Actual 64×64 Classic output from the production mapper.
Built for a quick result
Fine-tune the result without installing a full skin editor. Add recognizable facial details when the source image does not already contain them, and check every change in the live preview before downloading.
Your source image stays on your device and is processed with browser APIs.
Switch between Standard or HD resolution and Classic or Slim arms.
Check the selected Standard or HD texture and the assembled character before downloading.
Add a simple pair of eyes and a mouth in one click. Switching presets replaces the previous face instead of stacking pixels.
Draw on the front of the head with pencil, restore, color picker, undo, redo, and clear-all controls.
Open the page, create a skin, and download it without login or registration.
Compatibility
Both downloads use Minecraft's modern square skin layout. Choose 64×64 Standard for the widest compatibility, or 128×128 HD when your Bedrock platform or viewer supports high-resolution skins. Read our 64×64 vs 128×128 Minecraft skin size guide to choose the right size.
The converter uses the positioned source image directly without applying an extra visual style. Existing pixel art keeps its hard edges, while the selected skin resolution determines how much source detail can appear in the exported PNG.
Face edits are applied to the front 8×8 pixels of the head and remain attached when you switch between Standard and HD output. They do not replace the rest of the image or turn the tool into a full-body skin editor.
Custom-skin upload steps differ between Java Edition, Bedrock platforms, launchers, and account types. Keep the downloaded PNG unchanged when importing it, then follow the Java and Bedrock skin upload guide.
Questions
Upload a photo in PNG, JPEG, or WebP format, position it inside the Minecraft body guide, and choose your resolution and arm model. Click Convert to turn your photo into a Minecraft skin, preview it in 3D, then download the PNG. You can also add eyes and a mouth before saving.
Yes. Upload a picture of yourself and use the body guide to position your face and other important details. The converter maps your picture to a Minecraft skin using the image's colors and details. A clear, front-facing photo is a useful starting point; adjust the face in the pixel editor if needed.
An image to skin converter turns an existing photo, picture, or artwork into a Minecraft skin. A skin generator creates a new design without needing your image. Our AI Minecraft Skin Generator creates random 64×64 skins directly in your browser, with no image or text prompt required. Try the AI Minecraft Skin Generator.
No. Image positioning, resizing, skin mapping, and PNG export all happen locally in your browser. Your image never leaves your device.
The converter accepts PNG, JPEG, and WebP images up to 10 MB. A clear image with strong colors usually gives the easiest-to-recognize result.
Classic skins use four-pixel-wide arms. Slim skins use three-pixel-wide arms. Choose the model you use in Minecraft before converting.
No. The converter uses the positioned source image directly without applying a pixel, smooth, or color filter. The selected 64×64 or 128×128 skin resolution only determines how much detail fits in the exported PNG.
The image inside the body guide becomes the front of the character. Nearby image areas are sampled for the sides, top, bottom, and back, so keeping useful colors and details around the guide usually produces the most coherent result.
Download 64×64 for standard Java Edition and Bedrock devices that support custom PNG skin imports. Choose 128×128 only when your Bedrock device and import method support HD skins; standard Java profile uploads do not accept this size. Custom-skin import options vary by platform. Follow the Java and Bedrock skin upload guide.
Choose Fix face & edit pixels after converting. You can apply a simple eye-and-mouth preset or draw the missing details yourself on the front 8×8 pixels of the head. This is especially useful when the source is a landscape, object, texture, or casual photo rather than character artwork.
The simple editor changes only the front 8×8 area of the head. Use a preset, pencil, color picker, restore tool, undo, or redo, and clear all edits whenever you want to return to the converted image. Face presets replace one another instead of stacking.